How to fix "Windows Installer package DLL" problem when you try to uninstall a program
The following error appeared on a customer’s computer when we tried to uninstall a nasty program named “SavingsBullFilter” (or “SavingsBull”) : “There is a problem with this Windows Installer package. A DLL required for this install to complete could not be run. Contact your support personnel or package vendor”.
The error probably appeared because the program installation was corrupted or after performing a malware cleaning procedure on the same computer, without prior uninstalling it from Windows. For that reason, we installed the unwanted program again in order to try to uninstall it again from Windows Control Panel (Add/Remove Programs). But the “Windows Installer package..DLL could not be run” error message appeared again during the uninstallation progress. After some tests, we finally found the following solution to bypass the “Windows Installer package..DLL could not be run” problem:
How to resolve the “Windows Installer package problem…DLL required “ error when you try to uninstall a program from your computer
Step 1. Download Microsoft’s Windows Install & Uninstall tool.
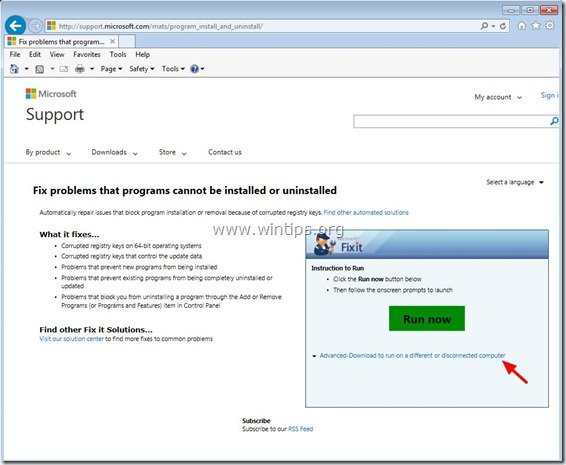
1. Navigate to the follow link: http://support.microsoft.com/mats/program_install_and_uninstall/
2a. Click on “Advanced-Download to run on a different or disconnected computer” option…
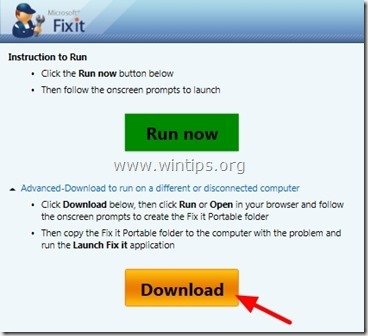
…and click the “Download” button.
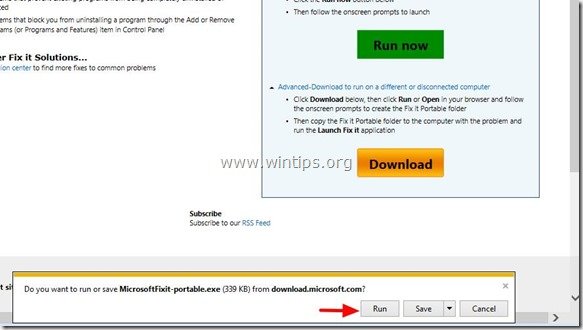
3. When asked, click “Run”.
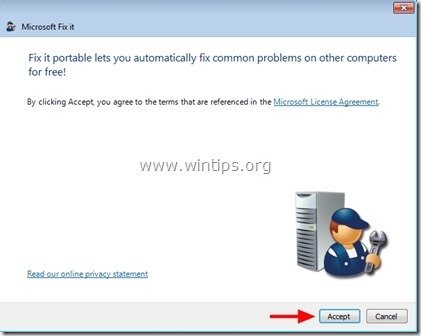
4. “Accept” the license agreement.
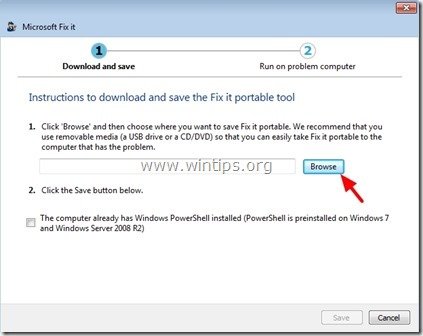
5. Click the “Browse” button in order to choose where “Fix it portable” utility will be saved.
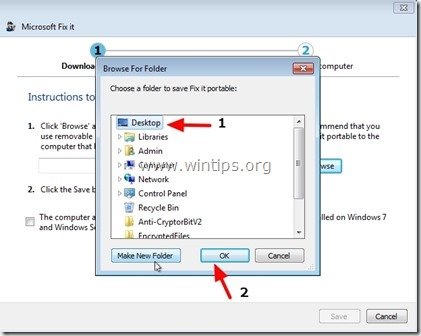
6. Specify a location (e.g. your Desktop) to save the “Fix it portable” utility and press “OK”
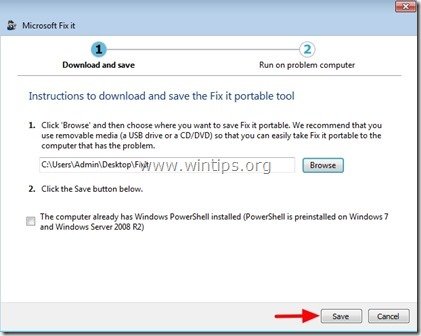
7. At the “Download and save” screen press the “Save” button.
8. Wait until “Microsoft Fix portable” tool is downloaded and saved to your computer.
9. Finally read the instructions on how to use the “Fix it portable” tool and press the “Finish” button.
Step 2. How to use “Fix it portable” tool to bypass the “Windows Installer package DLL” uninstallation error.
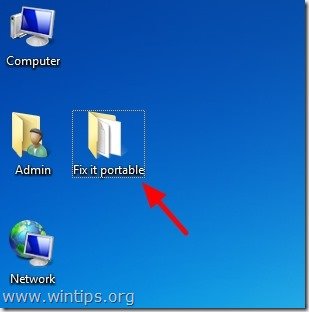
1. Navigate to the location where you saved the “Fix it Portable” utility (e.g. your “Desktop”) and open the “Fix it Portable” folder.
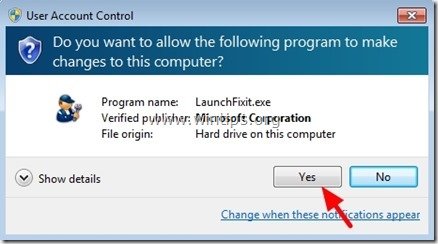
2. Double-click to run at the “Launch Fix it” application.
{Press “Yes” at the “User Account Control (UAC)” warning message if asked.}
3. At the first screen click at the “Install or upgrade software or hardware” option…
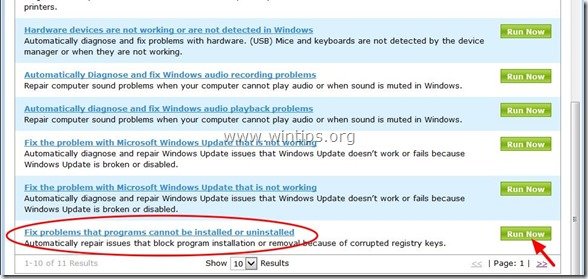
4. ..and then scroll down the window and press the “Run Now” button next to “Fix problems that programs cannot be installed or uninstalled” troubleshooter option.
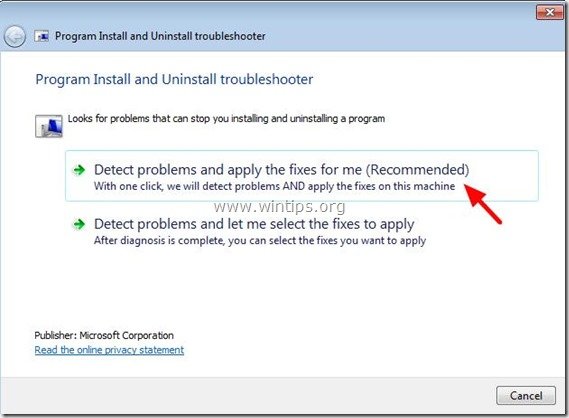
5. At the first screen click at the “Detect problems and apply the fixes for me (Recommended)” option.
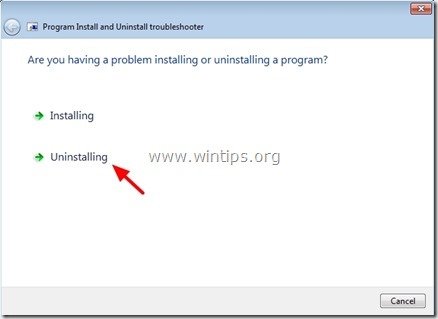
6. Choose the “Uninstalling” option.
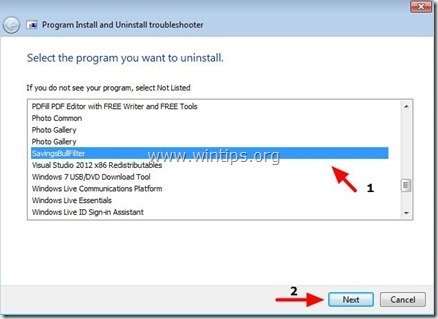
7. Select the unwanted program that you want to uninstall (e.g. “SavingsFilter” in our example) and press “Next”.
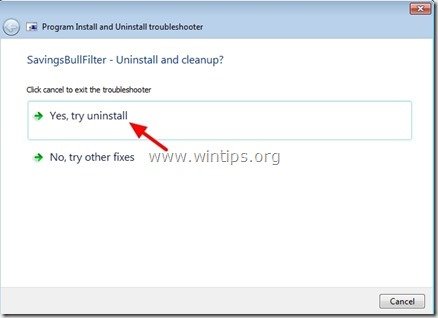
8. Press the “Yes, try uninstall” option and wait until “Fix it Portable” tool fixes your problem.
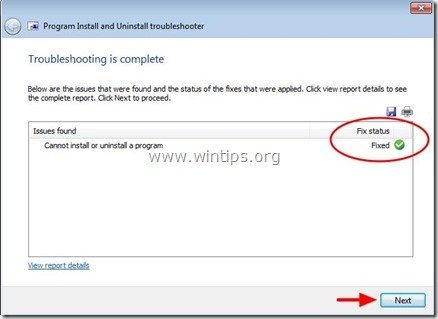
9. At the “Troubleshooting is complete” screen, review the “Fix status” (e.g. Fixed) and then press the “Next” button.
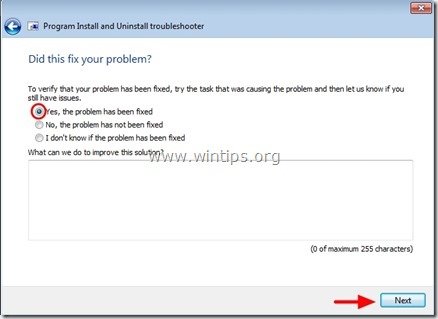
10. At the last window, check the “Yes, the problem has been fixed” option and choose “Next”.
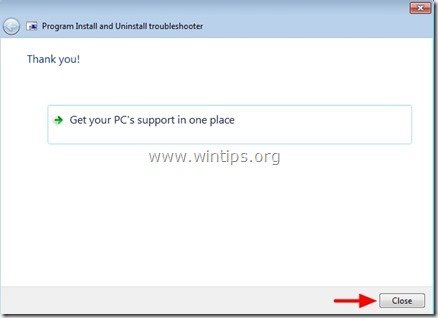
10. Close the “Program install and Uninstall troubleshooter” utility.
11. Finally navigate to “Add/Remove programs” (Programs and Features) in your control panel to ensure that the unwanted program is not listed anymore on the Installed programs list.*
Notice*: If the unwanted program keeps appearing on the programs list, then select it and press the “Uninstall” button. Normally (this time) the uninstallation process should be completed without errors.
That’s it.
by #taki

